A worrying reading is often technique
A surprising number of worrying home readings are not blood pressure at all. They are technique.
The figures below are from published measurement guidance, and they are larger than most people expect. Several common mistakes move a systolic reading by more than the gap between a normal reading and a diagnosis of hypertension.
What each mistake adds to your reading
| Cause of variance | Reading can fall by | Reading can rise by |
|---|---|---|
| Cuff is too small | 10 to 40 mmHg | |
| Cuff over clothing | 10 to 50 mmHg | 10 to 50 mmHg |
| Back or feet unsupported | 2 to 8+ mmHg | |
| Stress | 5 to 40+ mmHg | |
| Not resting for 3 to 5 minutes | 10 to 20 mmHg | |
| Talking during the reading | 10 to 15 mmHg | |
| Full bladder | 10 to 15 mmHg | |
| Smoking beforehand | 5 to 8 mmHg | |
| Cold temperature | 5 to 8 mmHg | |
| Alcohol or caffeine beforehand | 5 to 8 mmHg |
Source: published measurement guidance.[1]
Two things stand out. The two largest causes are both the cuff, not the monitor. And stress alone can move a reading by 40 mmHg or more, which is worth remembering if you are taking a reading precisely because you are worried about the result.
Cuff over clothing is the only one that can push a reading in either direction, so it is not a mistake that averages out.
How to take a reading properly

Before you start
- No caffeine, alcohol or cigarettes for 30 minutes.
- Empty your bladder.
- Sit quietly for 3 to 5 minutes. Not two minutes while you find the monitor. Actually sit still.
Getting into position
- Sit in a chair with a back, feet flat on the floor, legs uncrossed.
- Rest your arm on a table so the cuff sits level with your heart.
- Bare the arm. Roll the sleeve off entirely rather than pushing it up, because a bunched sleeve is worse than a sleeve left on.
Taking the measurement
- Fit the cuff on the upper arm, following the position markings, snug enough that two fingers slide under the edge.
- Do not talk, and do not move, while it inflates and deflates.
- Take the reading at the same time each day, usually morning and evening, and record it.
If you take a second reading, wait a minute or two before starting it.
Why one reading means very little
A single reading is the least reliable kind. Blood pressure moves constantly through the day, with activity, stress, temperature and time.
What a doctor can act on is a pattern over days, taken at consistent times with consistent technique. That is why monitors store readings, and why some take three measurements in sequence and average them automatically.
If you are going to show the numbers to anyone, a fortnight of morning and evening readings is worth far more than a single alarming one.
When the monitor is telling you something
Error codes are not faults. They are the monitor declining to give you a number it does not trust.
| Code | What it means | What to do |
|---|---|---|
| Err 1 | Pulse signal too weak | Refit the cuff, snug and on bare skin, and measure again |
| Err 2 | Movement interference | Stay still and quiet, and measure again |
| Err 3 | No pressure could be built up in the cuff | See below. On a newer monitor this is almost never a pump fault |
Err 3 on a monitor that is nearly new is almost always the cuff connector. Unplug it and push it firmly back into the socket on the side of the monitor until you hear and feel it click. Then check the tube is not kinked, twisted or trapped under your arm, and that the cuff is firm on the arm rather than loose. Measure again.
If Err 3 keeps appearing after that, contact us or the pharmacy you bought it from.
[VIDEO] Fixing Err 3
File: Product Videos\ABLE B1 Plus BPM\ABLE B1 Plus BPM – Error 3 Troubleshooting.mp4
Place directly under this paragraph, 16:9.
Caption: "Reseating the cuff connector, which fixes most Err 3 messages."
This is the single most useful video we have. It turns a phone call, a pharmacy visit or a warranty return into a thirty second fix, and it is worth linking from the product pages and the warranty page as well as from here.
If the monitor inflates and then starts inflating again, that is usually one of two things. On the BT and B3 models the MAM function takes three readings in a row to average them, so a second inflation is the monitor working as designed. Otherwise it simply did not reach the pressure it needed and is topping up, which means refitting the cuff.
The tick almost nobody notices
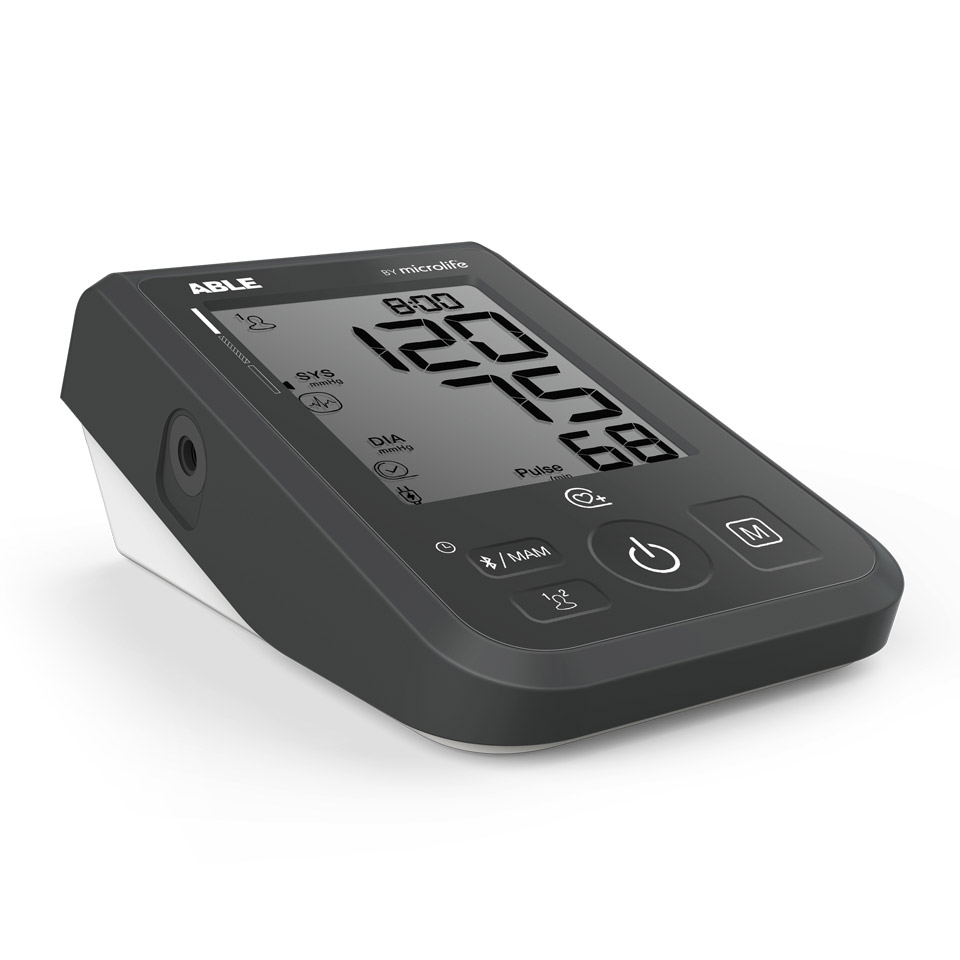
Monitors with Cuff Fit Check check the pulse signal as the measurement starts and show a small tick when the cuff is positioned well.
That gives you something genuinely useful: press the memory (M) button to bring back a reading, and look for the tick.
- Tick showing: the cuff was positioned properly and the reading can be relied on.
- No tick: the cuff was in a sub-optimal position, and that reading should not be used.
If a reading looks alarmingly high or oddly low, check it for the tick before you do anything else. A reading taken with a badly positioned cuff is not a reading.
This is also why Cuff Fit Check is worth more than it sounds. Other systems check only the cuff pressure, which confirms the cuff is inflated but not that it is sitting well enough to read your pulse properly.
When to see your doctor
- Consistently high readings over several days, taken with good technique
- A single very high reading accompanied by symptoms such as chest pain, breathlessness, severe headache or visual changes, which warrants urgent attention
- An AFIB symbol appearing on a monitor that screens for atrial fibrillation
Frequently asked questions
Why is my reading higher at the doctor than at home? Common enough to have a name, white coat effect. It is one of the reasons home monitoring is recommended.
Which arm should I use? Use the same arm each time. If one arm consistently reads higher, use that one, and mention the difference to your doctor.
My two readings are different. Which one is right? Some variation is normal. If they differ a lot, check your technique against the list above, and remember the second reading is often lower simply because you have been sitting still longer.
Does the monitor need calibrating? Follow the manufacturer's guidance.
This article is general information, not medical advice. Always follow the instructions for use supplied with your device, and discuss your readings with your doctor or pharmacist.
References
- Pickering TG et al. Recommendations for blood pressure measurement in humans. Hypertension 2005;45:142-161. See also O'Brien E et al, Journal of Hypertension 2003;21:821-848, and Handler J, The Permanente Journal 2009;13(3):51-54.